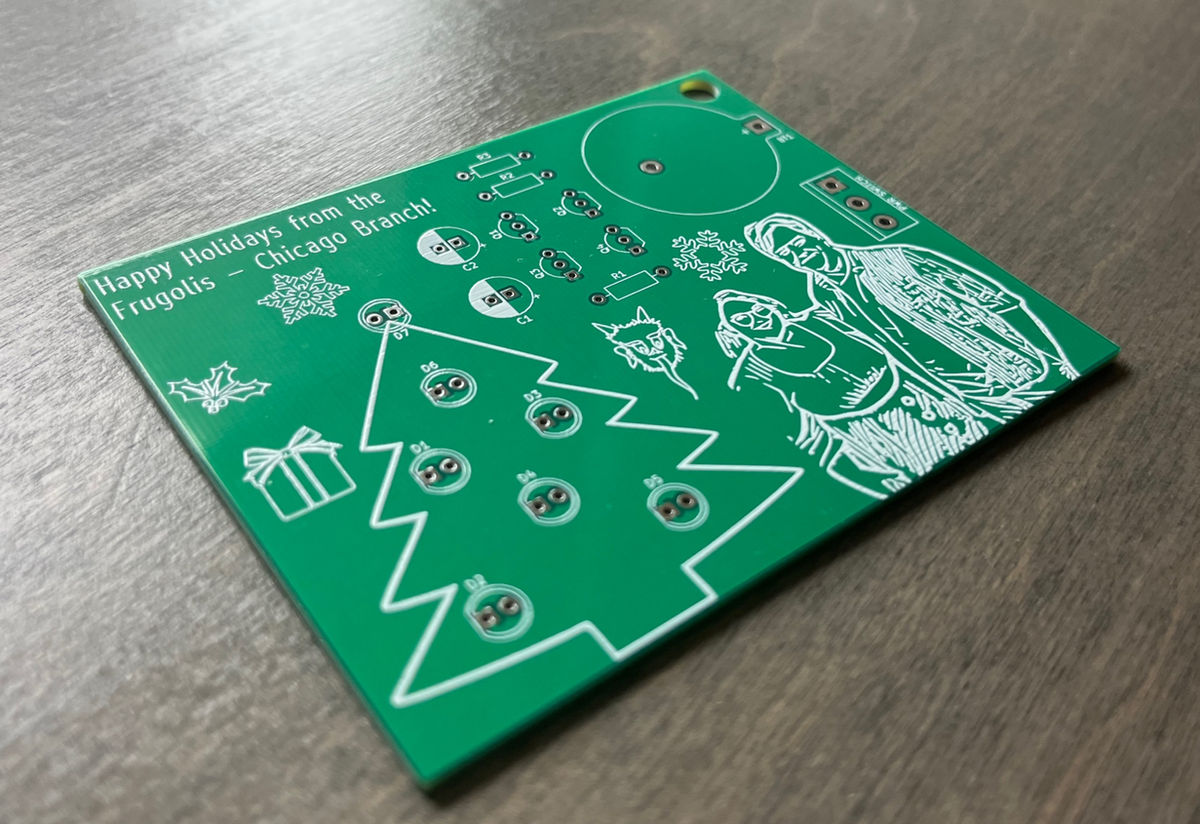
A Silkscreen Christmas - A PCB Holidays Card
December 7, 2022
Personally, I'm not a huge fan of the classic Christmas card tradition. Pretending to be a perfect family for 5 minutes just to take a photo for a card that you send to people you haven't spoken to in 7 years... it's just not for me. But when I moved into my own apartment, I did feel a little left out during the holiday season. I decided to make a Christmas card for my close family and friends that reflected a knowledge or skill that I learned that year. For example, my first year I decided to do a 3D printed lithophane of me and my roommate.
For this year, I decided the skill I wanted to share was PCB design. I had started getting into it after my Fuzz Face project and I thought I could do a fun card built entirely on a circuit board. I started off by getting a general idea of what I wanted the design to be. I knew I wanted a LED flasher circuit to emulate lights on a Christmas tree and I wanted it to run entirely off the board. I figured if I found a circuit that ran off of 3 volts, I could use a LiCB coin battery (like Apple uses in their Air Tags) and attach it to the board through a PCB mounted battery holder. I also wanted to be able to have a design of me and my sister printed onto the board itself.
After searching around for a bit, I found a circuit on YouTube from a channel called VIPINS CORNER. Their design was originally for one LED, so I breadboarded the circuit and did some tests to see how far I could push it. I was hoping to get two different flashing circuits for the red and green LEDs so it gave it more of a twinkle effect. I also wanted to just be able to light a yellow LED that wouldn't flash to act as the star at the top of the tree. It turns out I was able to get all of that working off one 3 volt battery by essentially having the two flasher circuits and one LED in parallel with each other (with 3 LEDs in each of the flasher circuits). This was great news as this was exactly what I was hoping to get.
The next part I needed to look into was how to get the pictures onto the PCB. Again after doing some research, I found that you can use .svg files to put drawings directly onto the silkscreen layer in KiCad. So what I did was find a picture of me and my roommate, cut us out in photoshop, and put the picture through a .jpg to .svg converter. I also put some basic Christmasy clip art through the converter as well as the PCB was a little barren after I designed it.
Once I had all the research and testing done, all that was left to do was finish the schematic and design the PCB. I've attached pictures of both of those below, but one thing I was really trying to do with this PCB was try and get the components pretty compact to allow as much room as possible for the actual silkscreen portraits (and also keep the PCB below 100mm since it was cheaper to order that way). That was definitely one aspect I've struggled with in the past so I was very happy with how this layout turned out.
Overall, I was really happy with how this build turned out. The people I passed them out to seemed to think it was pretty neat as well. I even was featured on one of my professor's blogs for it. While it wasn't a project that's specifically audio or programming related, it was a great way to work on some of the skills that I've been building on and was just a lot of fun. It's definitely rewarding to get to a point where I can have an idea and be able to fully execute on that idea without hitting a roadblock of not knowing enough or not knowing what software to use to achieve the goal. I think these cards are just a great way for me to reflect back on the year and see how far I've come. And hey, maybe if we're good enough friends you'll receive whatever card awaits next year.


